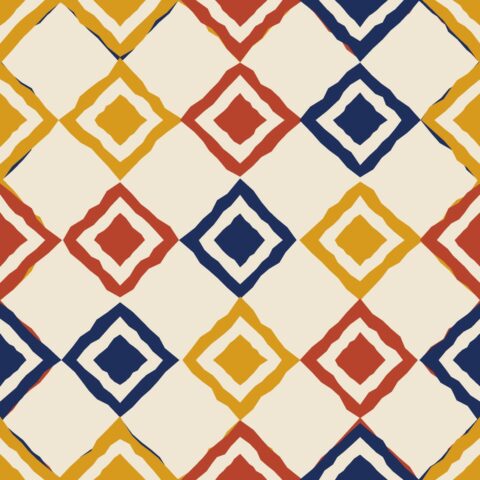
Seamless Pattern Checker

Upload a repeat tile to preview it tiled, offset by 50% and edge-to-edge, with an automatic score for how well opposite edges match.

Runs in your browser — images are never uploaded

How to use the Seamless Pattern Checker

  1. Upload the repeat tile you want to check.
  2. Look at the Tiled view at 3 × 3 and 5 × 5 to judge overall rhythm.
  3. Switch to Offset 50% — any seam appears as a cross through the centre.
  4. Open the Edges view to see the left/right and top/bottom edges side by side, magnified.
  5. Read the seam analysis, fix the artwork, and check again.

How the checker finds seams

A seamless tile must continue perfectly from its right edge into its left edge, and from its bottom edge into its top edge. The checker compares those wrap-around pixels and measures how different they are compared with how much neighbouring pixels normally differ inside your artwork. A tile with a clean join scores close to the artwork’s own texture; a tile with a shifted or cropped edge scores much higher.

The Offset 50% view does what Photoshop’s Filter → Other → Offset does: it moves the tile by half its width and height with wrap-around, so the original edges meet in the middle of the canvas where you can see them.

Examples

A one-pixel shift

Try the sample: its right-hand band has been shifted down slightly. In the Edges view the mismatched rows are flagged in red, and the Offset view shows a visible vertical break.

Colour drift at the bottom edge

Gradients and painted backgrounds often get lighter or darker towards one edge. The tiled view at 5 × 5 makes these bands obvious even when individual motifs line up.

What to do when you find a seam

  • In Photoshop, apply Offset by half the width and height, repair the centre cross with the clone or healing tools, then offset back.
  • Never crop a repeat tile after you have made it seamless — even one pixel breaks the join.
  • Resize tiles only with a resampling method that keeps edges consistent, and re-check afterwards.