Photoshop

How to Create Textile Repeats in Photoshop

A practical Photoshop workflow for straight, half drop and brick repeats using the Offset filter, Define Pattern and Pattern Preview.

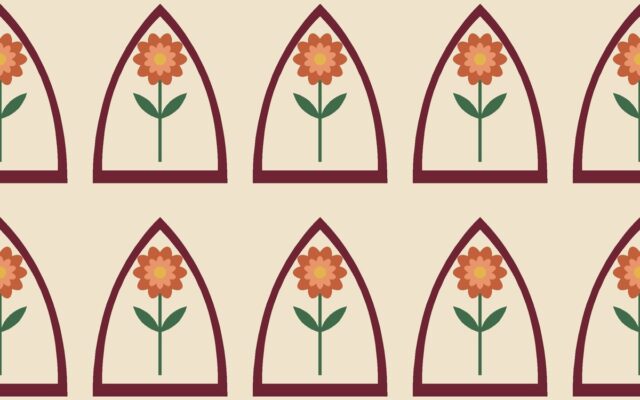
Indigo Botanical Trail — seamless pattern repeat

Photoshop remains the standard tool for textile repeat work because of one simple filter — Offset — and its pattern features. This guide walks through a reliable workflow for the three common repeat types.

Set up the document

  1. Decide the printed repeat size, for example 30 × 30 cm.
  2. Create a new document at that size and the resolution your printer needs (often 150 or 300 PPI). At 300 PPI, 30 cm is 3,543 px.
  3. Use RGB colour mode unless your printer specifically asks for something else, and note which colour profile you are working in.
  4. Keep motifs on separate layers so you can move them while building the repeat.

Straight repeat with the Offset filter

  1. Arrange your main motifs in the centre, away from the edges.
  2. Merge a copy of the visible layers (or work on a flattened duplicate) and choose Filter → Other → Offset.
  3. Enter half the width for Horizontal and half the height for Vertical — 1,772 and 1,772 for a 3,543 px tile — and choose Wrap Around. Use whole numbers; odd pixel sizes need careful rounding.
  4. The old edges now meet in the centre. Fill the gaps and cover the join with new motifs or by healing the background.
  5. Run Offset again to bring the tile back if you want the original arrangement in the centre.

Check with Pattern Preview

Recent versions of Photoshop include View → Pattern Preview, which tiles the canvas live while you work. It is the fastest way to spot tracking and holes. Alternatively, select all, choose Edit → Define Pattern, and fill a large new document with that pattern.

Half drop

  1. Finish a straight tile first and flatten a copy.
  2. Use Image → Canvas Size to double the width, anchored on the left.
  3. Duplicate the tile layer and move the copy exactly into the right-hand half (hold Shift while dragging, or use the Move tool with numeric offsets).
  4. Select only the right-hand half and apply Filter → Other → Offset with Horizontal 0 and Vertical set to half the tile height, Wrap Around.
  5. Your document now holds a two-column half drop tile that repeats on a straight grid.

Brick repeat

Repeat the half drop steps but double the canvas height, place the copy in the lower half, and offset it horizontally by half the width.

Exporting for print

  • Save the layered master as PSD.
  • Export a flattened TIFF or PNG of the tile. Avoid heavy JPEG compression on repeat tiles; compression can alter edge pixels.
  • Name files clearly, for example marigold_halfdrop_60x30cm_300ppi.tif.
  • Never crop the tile after this point — a single pixel breaks the join.

Quick browser checks

Before uploading to a printer, drop the exported tile into the Seamless Pattern Checker to confirm the edges, and the Image Resolution Checker to confirm pixel size and embedded resolution.