How to Create a Seamless Pattern
A clear, step-by-step method for turning motifs into a seamless textile repeat — and the checks that stop seams reaching the printer.
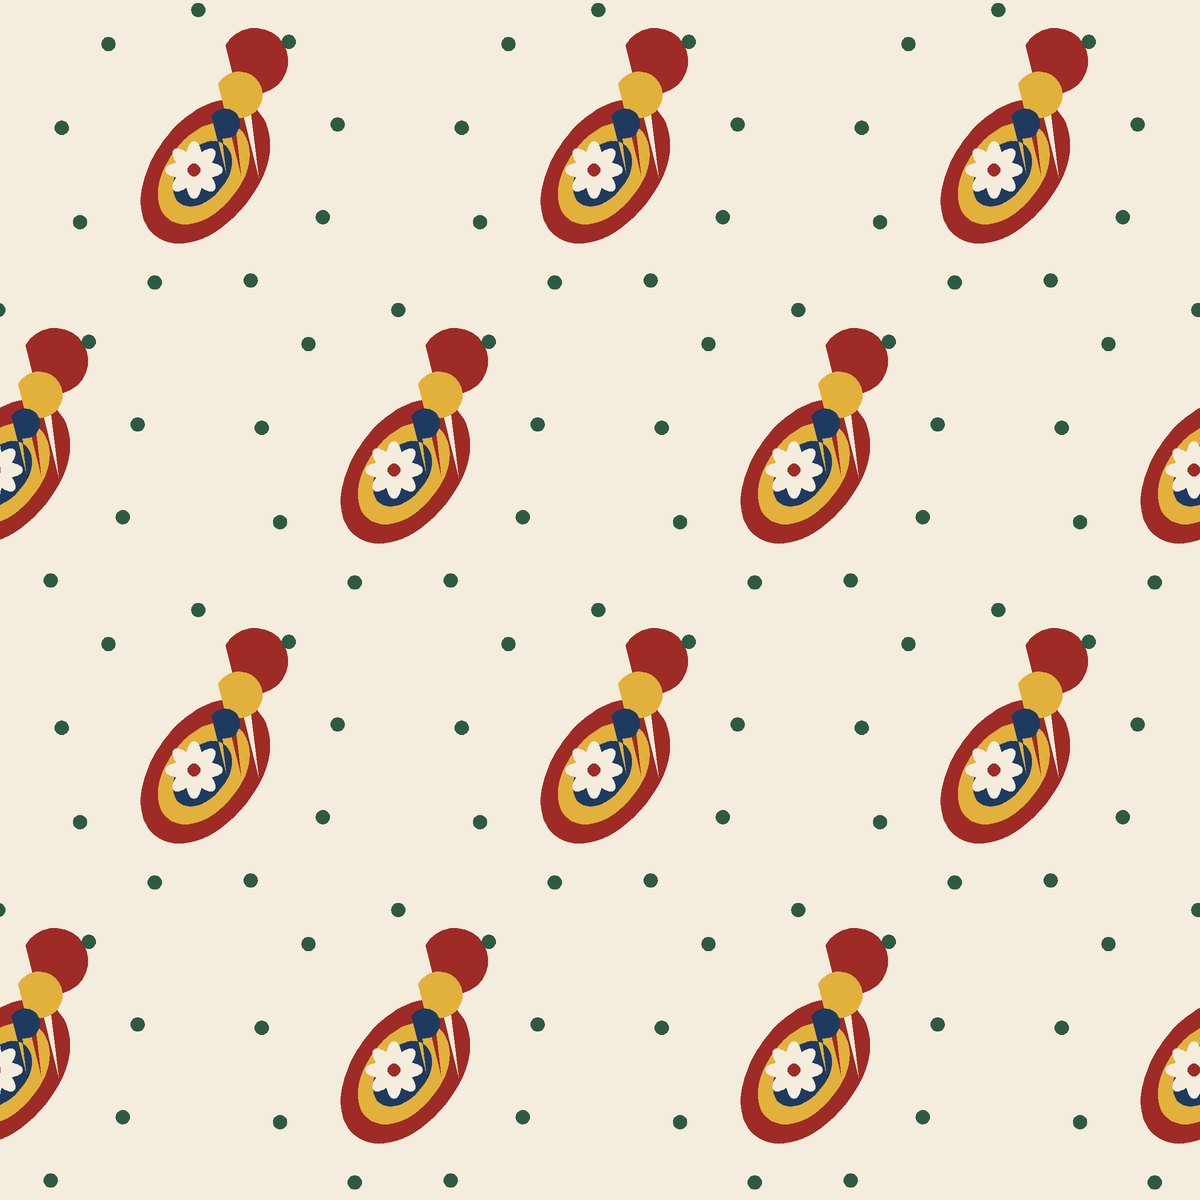
A seamless pattern is a rectangle of artwork that can be placed edge to edge in every direction without any visible join. Everything you see on printed fabric — from a tiny ditsy floral to a metre-wide botanical — is built from one of these rectangles, called the repeat tile or simply the repeat.
This guide explains the core idea, the method most textile designers use, and how to check the result before it goes to print.
The one rule of a seamless repeat
Whatever leaves one edge of the tile must enter at the opposite edge in exactly the same place. If half a flower sticks out of the right-hand edge, the other half must appear on the left-hand edge at the same height. The same applies to top and bottom. Get this right and the edges disappear when the tile repeats.
Step 1: Decide the repeat size and layout
Before drawing, decide how large one repeat will be when printed and which layout you will use. Repeat size depends on the product — small for shirting and childrenswear, larger for curtains and upholstery. Layout options are:
- Straight (block) repeat — the tile repeats in a simple grid.
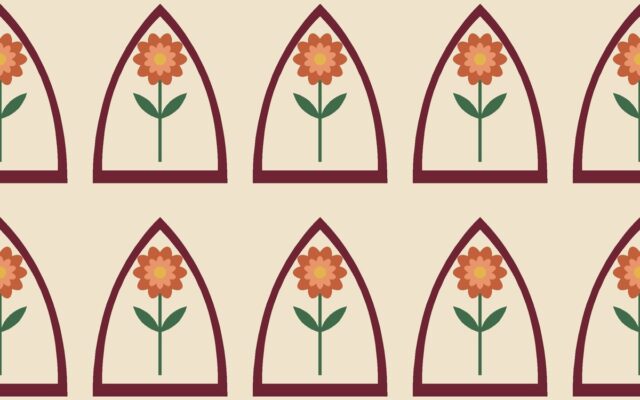
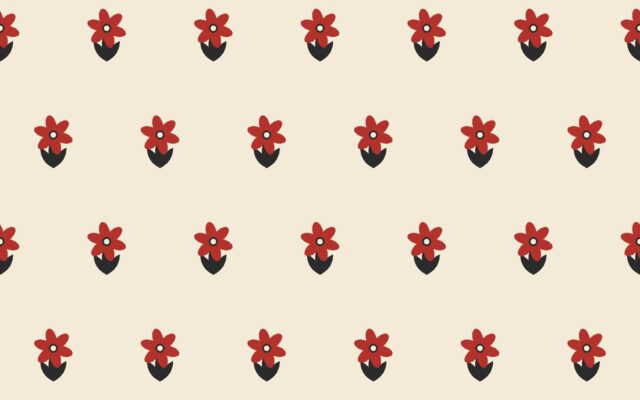
- Half drop — every second column moves down by half the repeat height.
- Brick — every second row moves across by half the repeat width.
- Mirror — the tile is reflected across one or both axes.
Work out the pixel size at the start: a 30 × 30 cm repeat at 300 DPI is 3,543 × 3,543 pixels. The Fabric DPI Calculator does this for you.
Step 2: Arrange the main motifs away from the edges
Create a canvas at your repeat size and place your largest motifs in the middle area first. Vary their size, direction and spacing. Keep a little distance from the edges for now — the edges are handled in the next step.
Step 3: Offset the artwork to reveal the edges
This is the key technique. Shift the whole artwork by exactly half its width and half its height, wrapping whatever leaves one side back in on the other. In Photoshop this is Filter → Other → Offset with “Wrap Around” selected. The original outer edges now meet in a cross through the middle of the canvas, and the empty corners you avoided earlier are now in the centre.
Step 4: Fill the gaps
Add motifs over the centre cross and into any empty space. Because you are now working in the middle of the canvas, anything you draw across the old edges will automatically be continuous. Keep balancing density: a common mistake is filling the centre more heavily than the rest.
Step 5: Offset back and check
Apply the same offset again (or the negative values) to return to the original position. Then test the repeat at scale:
- Tile it 3 × 3 and 5 × 5 to look for seams and stripes. The Seamless Pattern Checker also scores how well the edges match.
- Zoom out until you see 8–12 repeats across. Heavy motifs that line up into diagonals or columns (“tracking”) need moving.
- Look for holes — empty areas that form a regular grid when repeated.
Faster: build the repeat from a motif
If you have a single motif or bouquet, the Seamless Pattern Maker places it in a repeat cell with wrap-around and lets you try straight, half drop, brick and mirror layouts in seconds. It is a quick way to test spacing and scale before committing to a hand-arranged repeat.
Common problems and fixes
| Problem | Cause | Fix |
|---|---|---|
| Thin visible line at the join | Tile cropped or resized after it was made seamless | Rebuild the edges; resize the whole tile only |
| Stripes or diagonals across the fabric | A dominant motif in the same place in every tile | Redistribute motifs or switch to a half drop |
| Colour shift at one edge | Gradient or texture changes across the tile | Offset and blend the background at the centre cross |
| Soft edges when printed | Not enough pixels for the print size | Work at 150–300 DPI at final size |
Before you send it to print
Save the master as a layered PSD and export a flattened PNG or TIFF of the repeat tile. Tell your printer the repeat type and the physical size of one repeat, and request a strike-off — a test print — before ordering production quantities.
Frequently asked questions
What size should my first repeat be?
A 20–30 cm square repeat at 300 DPI (about 2,400–3,600 px) is a comfortable size for learning and suits most apparel fabrics.
Do I need Photoshop to make a seamless pattern?
No. Any editor with an offset or wrap feature works, and the free Seamless Pattern Maker builds repeats from motifs in your browser.
Tools mentioned in this guide
View allSeamless Pattern Maker
Turn a motif into a seamless repeat — straight, half drop, brick or mirror — and download a print-ready tile.
Seamless Pattern Checker
Spot seams before you print: tiled, horizontal, vertical and offset previews plus an edge-mismatch score.
Pattern Tiling Preview
Preview any repeat tile at different scales to judge rhythm, density and how it will look across a full width…
Patterns to practise with
View all
Free
Marigold Garden
Free
Indigo Botanical Trail
Premium
Paisley Procession
Free
Ikat Diamond Lattice
Keep reading
View all
What Is a Brick Repeat?
The brick repeat explained: how rows shift, when it beats a half drop, and how to prepare the tile for printing.
What Is a Half Drop Repeat?
How the half drop repeat works, why it looks more natural than a straight repeat, and how to build and send one…
How to Prepare Artwork for Fabric Printing
A pre-flight checklist for textile print files: repeat checks, resolution, colour, file format, naming and strike-offs.